
A damaged tree is not just an eyesore, it’s a liability.
If you need tree removal, it’s best to jump on this project fast, rather than leaving the tree on your property. Removing a tree takes some planning and heavy lifting, so you need to understand the steps.
Follow these words of advice if you have a tree on your property that needs removal.
What Should You Know About Tree Removal?
Learn all you can about tree removal prior to taking on the project. Here are some essential steps to consider:
- Know When to Do It
Consider your project and why you would like to remove the tree.
If your tree is dying, this definitely constitutes an emergency removal. Leaving a dying tree in your yard is a serious hazard that can have fatal consequences. It’s best to remove the tree altogether rather than risk it falling apart at an inopportune moment, injuring people or damaging property.
Removing a tree also makes space in your yard. This allows more room for your kids to play or can help you make the best use of your square footage.
If your municipality requires any sort of permit to carry out your tree removal, take all the time you need to apply, pay your fees, and get info.
- Get Your Hands on the Right Tools for the Job
Make sure you have high-quality tools to tackle your tree removal project. You need a quality chainsaw, eye protection, measuring tools, and a ladder.
It would also help to wear a pair of work gloves and a hard hat, along with some durable, rubber-soled work boots. Treat the project with the seriousness that it deserves by stocking up on the best equipment you can find.
- Plan Out the Tree Removal and Secure the Site
Clear out the site so that all hazards are accounted for and nobody wanders onto it. You might want to partition it off with fencing or tape until you are finished.
Inspect the tree and assess whether or not it is hollow. If the tree seems to be diseased, contact a professional since there are more hazards to mitigate.
Make sure that cutting down the tree won’t affect your utility lines or fencing. Plan out everything from the time of day to the weather conditions, so that you have enough sunlight, and avoid a windy day.
Leave enough space so that you have an escape route if anything at all goes wrong when cutting down the tree.
- Address the Project and Carefully Clean Up
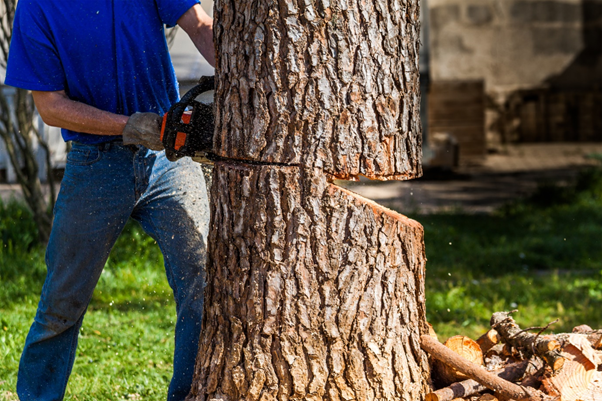
Once every precaution is taken, carefully cut a deep notch into the tree so that you can control the angle that it falls. Saw steadily into the tree until the cut is complete and the tree falls.
After the tree is down, make sure that you grind the stump into pulp so that it doesn’t attract unwanted pests. Clean up your worksite, making sure to get rid of felled branches and stems.
Remove Your Tree Correctly
These tips can help you if you’re trying to cut your tree down as carefully and correctly as possible. Tree removal always has a margin of error, so always assess your capability and willingness before taking on this project.
Don’t shy away from hiring a professional arborist if you need help. In the meantime, check out more of our article when you’d like to learn about other home improvement topics.