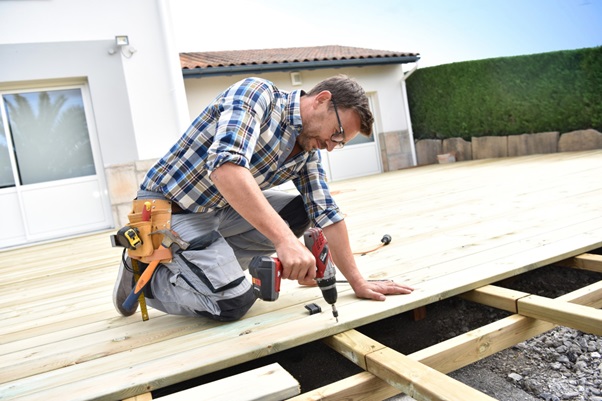
With the constant wear they encounter from foot traffic and the elements, your deck steps are one of the first things to go on your deck.
Replacing them can cost a few hundred dollars at least if you go with professionals. Building your own deck stairs can be fun and satisfying, a great DIY project that costs under $100 in materials and just a few hours of time.
This short guide will give you five essential tips for how to build steps for a deck.
How to Build Steps for a Deck: Setting the Foundation
If you’re building new steps, aim for at least 36 inches in width. Determine the width you want and plan for one stringer (stair support) for every 18 inches in width. You should use three stringers for 36″ stairs, four for 54″ stairs, and so on.
With your measurements, you’ll have a better idea of how much material you’ll need.
Tip 1: Tools and Materials
If you’re a regular at-home engineer, you likely have the standard tools for building deck stairs, including the following:
- Tape measure
- Circular saw
- Drill
- Hammer
- Handsaw
- Framing square
- Level
For materials, you’ll need to pick up the following from your local home improvement store:
- 2x12x12
- 3″ deck screws
- 2×6 boards for decking
Use pressure-treated lumber for your deck because it will be resistant to weather and destructive pests. Keep in my that it can still rot, so depending on where you live and what your deck is exposed to, you may want stronger material.
If your steps are part of a larger deck build, consider replacing wood with metal framing. You’ll have a stronger frame to resist bugs, hold up to weather, and perform longer. You can learn more about steel decking here: https://www.bushwickmetals.com/product-category/decking/
Tip 2: Prepare the Landing
Stairs descend at around a 40-degree angle. Eyeball the landing point for the stairs and prepare a paver, stone, or concrete landing. Measure the height of the deck from the landing.
Tip 3: Cut Your Stringers
Divide your deck height by 7 (average riser height) to determine how many steps you’ll have. Each step should be 10-11″ deep, so use that to find exactly where your stairs will fall on your landing. Measuring from the deck to that point will show you how long to make your stringers.
Divide your deck height by the number of risers you’ll use to find your riser height, ideally between 6-8″ high.
Take your framing square and draw out your cuts for the stringers using your rise and tread depth measures. Mark the top and bottom 45-degree cuts for where the stringers meet the deck and the landing. Cut the ends with your circular saw and test-fit them against the deck, recutting if they’re too long.
Use your circular saw to cut as far down each tread and rise line as possible. Use your hand saw to cut the rest of the way to the corner.
Tip 4: Attach Your Stringers
For added support, you can attach a 2×4 toe-kick to the underside of the stringers’ landing ends to create a bridge between them. Use your level to make sure the stringers are positioned properly and the stairs are flat. Install the stringers to the toe-kick and the deck with deck screws.
Tip 5: Attach Steps and Enjoy!
Start attaching your risers and treads, starting with the bottom riser and working your way up. Leave a 1/4″ gap between your tread boards to leave expansion room.
Unless you go the metal route, you’ll likely want to add additional support to your steps. Bracing options include skirts for the outside of the stringers or reinforcing the attachment at the deck.
Now that you know how to build steps for a deck you can learn how to build a deck on the ground from scratch! If that seems like a bit much, follow us for more great DIY projects.


